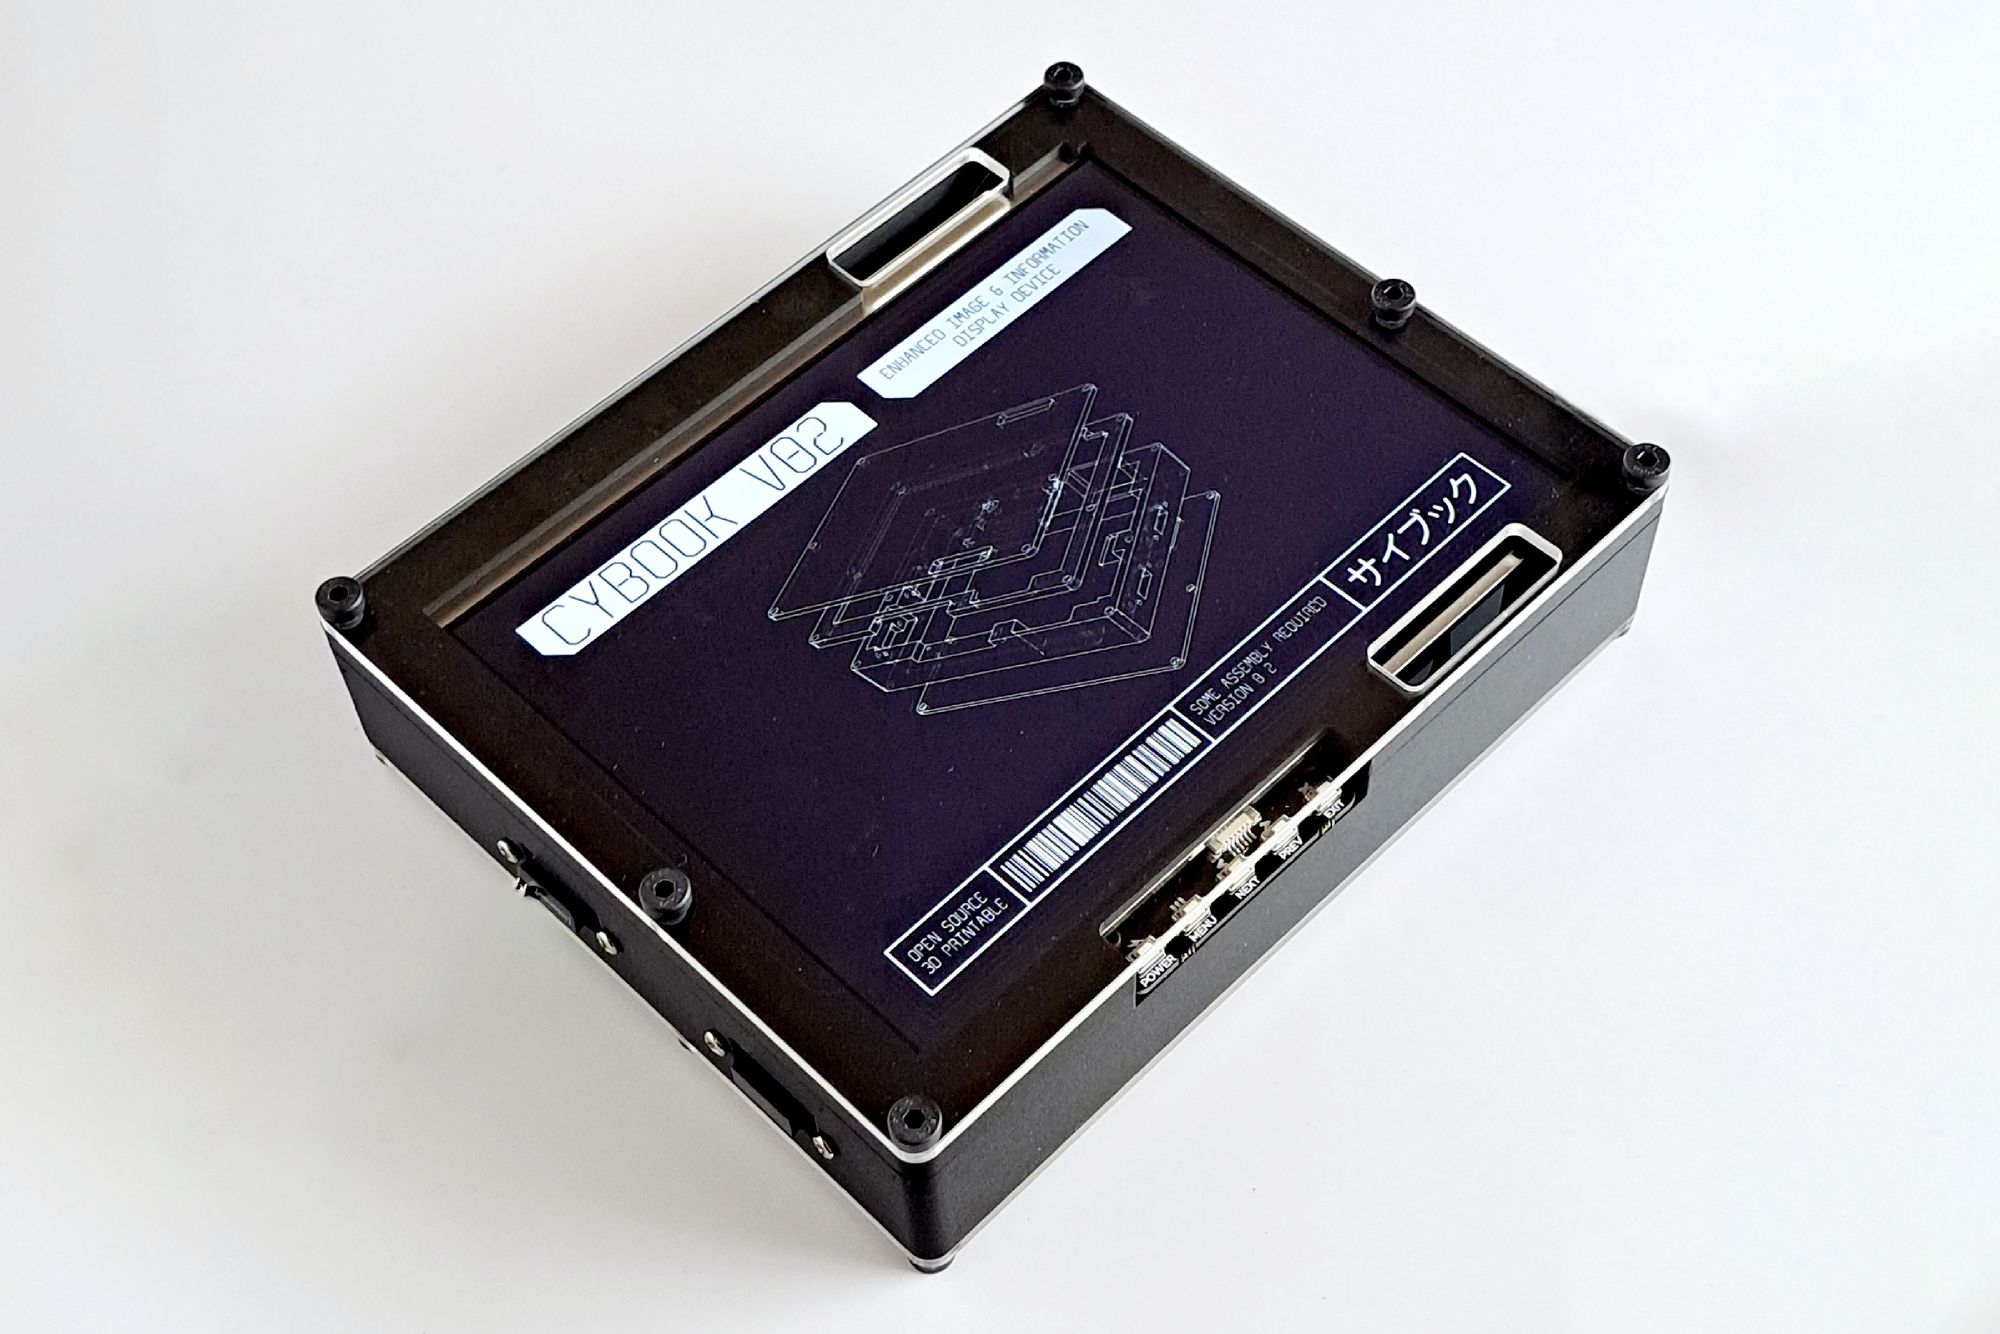
The Cybook (cyborg + book) is an experimental digital photobook build around a Raspberry Pi Zero and 3D printing. Based on the principles of diy and open source, the device contains it's own documentation, making the technology inside visible and comprehensible. Self publishing has a long tradition in the analogue realm, the cybook is an update for the digital age. The project documentation and files are also available online, so everyone can build their own cybook.
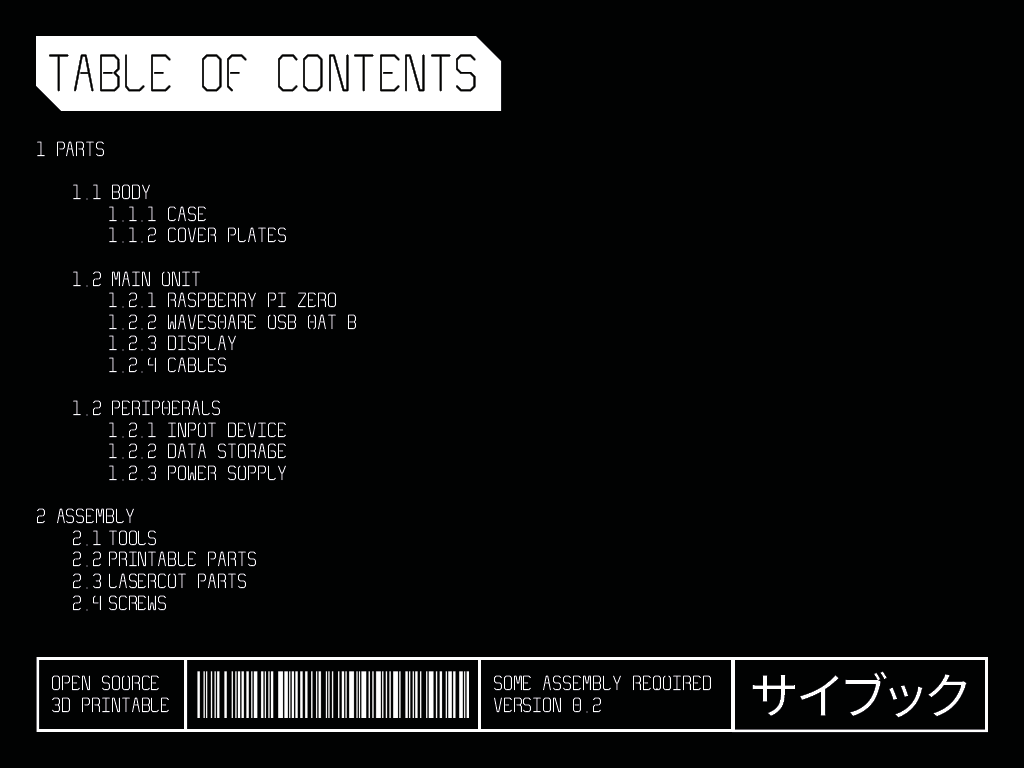
Parts
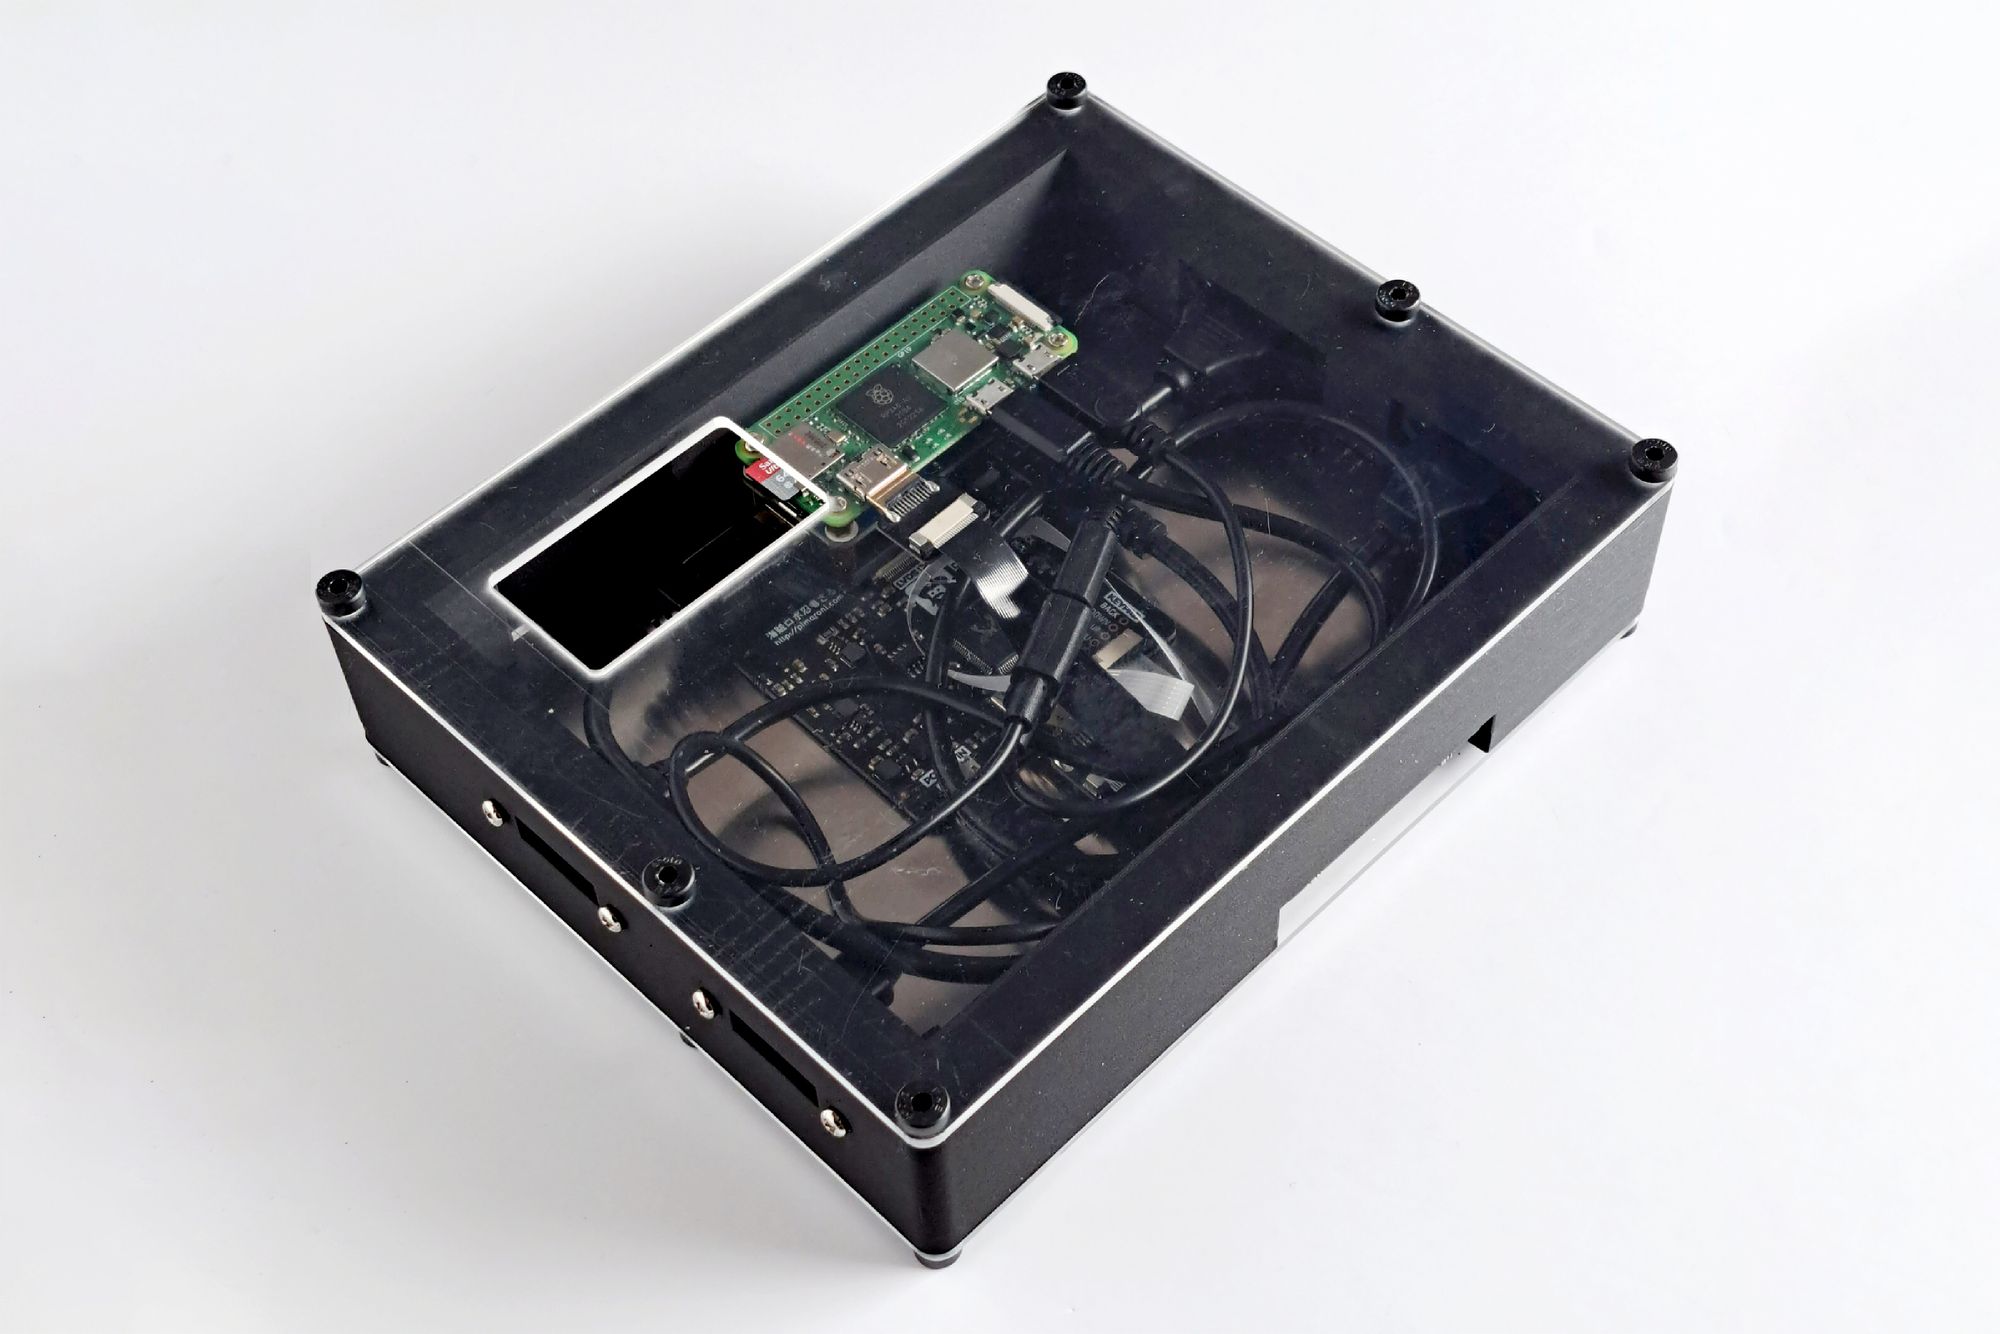
01: Main Unit
Raspberry Pi Zero 2 W: rpilocator.com
Waveshare 4 Port USB Hat: Waveshare
32 GB Micro SD Card
02: Screen
Pimoroni 8" HDMI IPS Display: Pimoroni
Adafruit Straight Mini HDMI Plug: Adafruit
Adafruit 10 cm HDMI Ribbon Cable: Adafruit
Adafruit Straight HDMI Plug: Adafruit
3mm Plexiglas to cut the cover plates
03: Cables
Two USB Panel Mount -> Micro-USB cables: Aliexpress
Two Delock Micro-USB Panel Mount -> Micro-USB cables: Amazon
Adafruit Micro USB Splitter: Adafruit
04: Storage
Intenso Micro Line USB-Stick 32 GB: Amazon
05: Screws
2 Hex Screws M2,5x8mm (to attach the control panel of the screen to the body): Reidl
4 Hex Screws M2,5x8mm (to attach the Pi Zero to the bracket): Reidl
2 Low Profile Hex Screws M5x12mm (to attach the bracket to the bottom part of body): Reidl
12 Low Profile Hex Screws M5x16mm (to attach the glas plates to the front and back of the body): Reidl
The USB cables come with matching M3 screws included
06: Files
Download from: Thingyverse
07: Power
Any powerbank will do, I use the Anker PowerCore 20k: Anker
For stationary use and testing, I use the official Raspberry Pi power supply: Raspberrypi.com
Assembly
- Mount the Waveshare USB Hat on top of the Pi Zero.
- Mount the USB Hat to the bracket. pay attention to the orientation, the Micro-SD card slot needs to sit under the cutout of the back plate.
- Mount the bracket to the bottom part of the body.
- Assemble the screen.
- Place the screen in the cutouts of the top part.
- Put the two body parts together, attach the front glass.
- Attach the Micro-USB cables to the right side.
- Attach the USB cables to the left side.
- Connect the Y-splitter cable to one of the Micro-USB cables, then connect each end of the Y-splitter to the respective power supply port of the screen and the Pi Zero. Note which Micro-USB port you used, the device won't start when you connect your power supply to the wrong port.
- Attach the other glass pate to the back.